Shutter Speed, Aperture and ISO Explained
Have you ever wanted shutter speed, aperture and ISO explained in a way that is easy to understand? A friend asked me the question, how do shutter speed, aperture and ISO all work together? So I wrote this article to help answer his photography questions.
Shutter speed, ISO, and aperture are the three main components of exposure in photography. They work together to control the amount (and duration) of light that enters the camera, and therefore how bright or dark the resulting image is, which contributes to the ability to control depth of field. This is known as the exposure triangle.
Shutter speed settings
Shutter speed refers to the amount of time that the camera’s shutter is open, allowing light to enter the camera and hit the sensor or film. A faster shutter speed (such as 1/1000th of a second) will freeze motion and reduce blur, while a slower shutter speed (such as 1/30th of a second) will allow for more motion blur and potentially capture more light. Shutter speed is measured in seconds or fractions of a second.
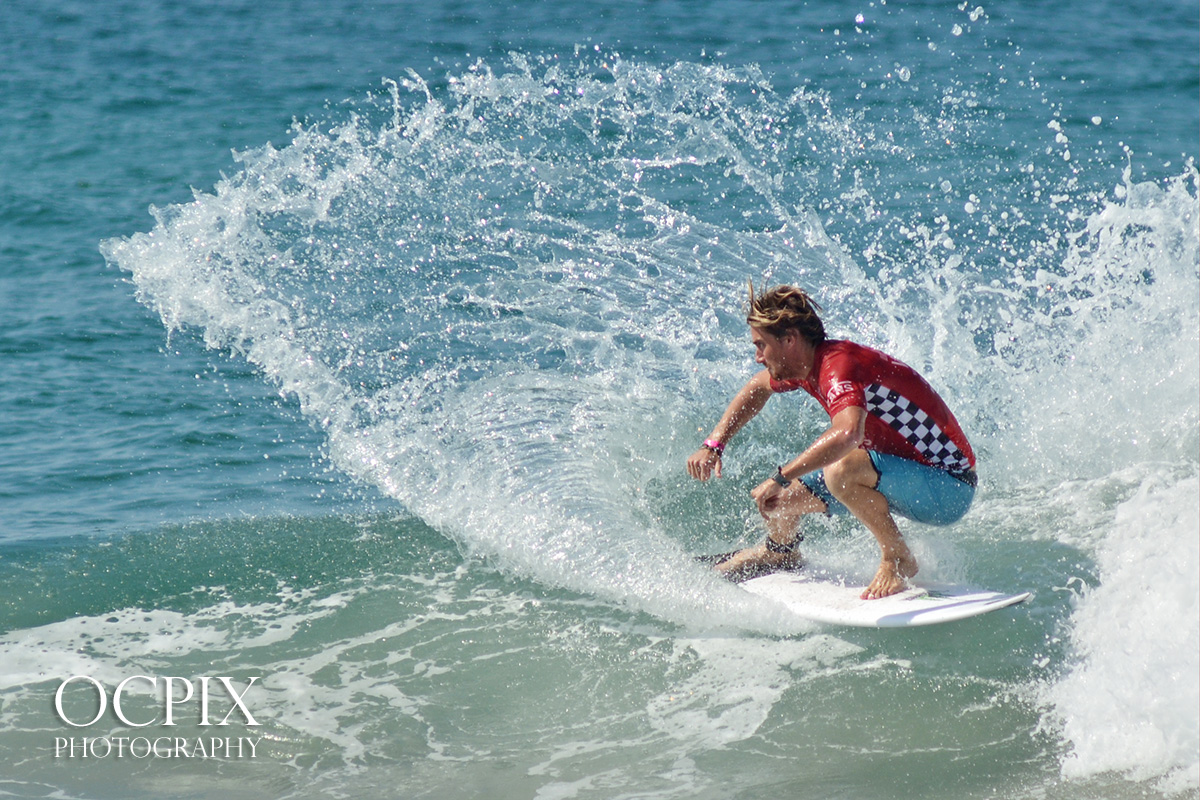
In sports photography it’s normal to use a higher shutter speed. This will freeze the action, such as in the photo above of the surfer. A slower shutter speed would have a different effect on the water, and even more so when it’s too slow and effectively blurring the image.
Aperture settings
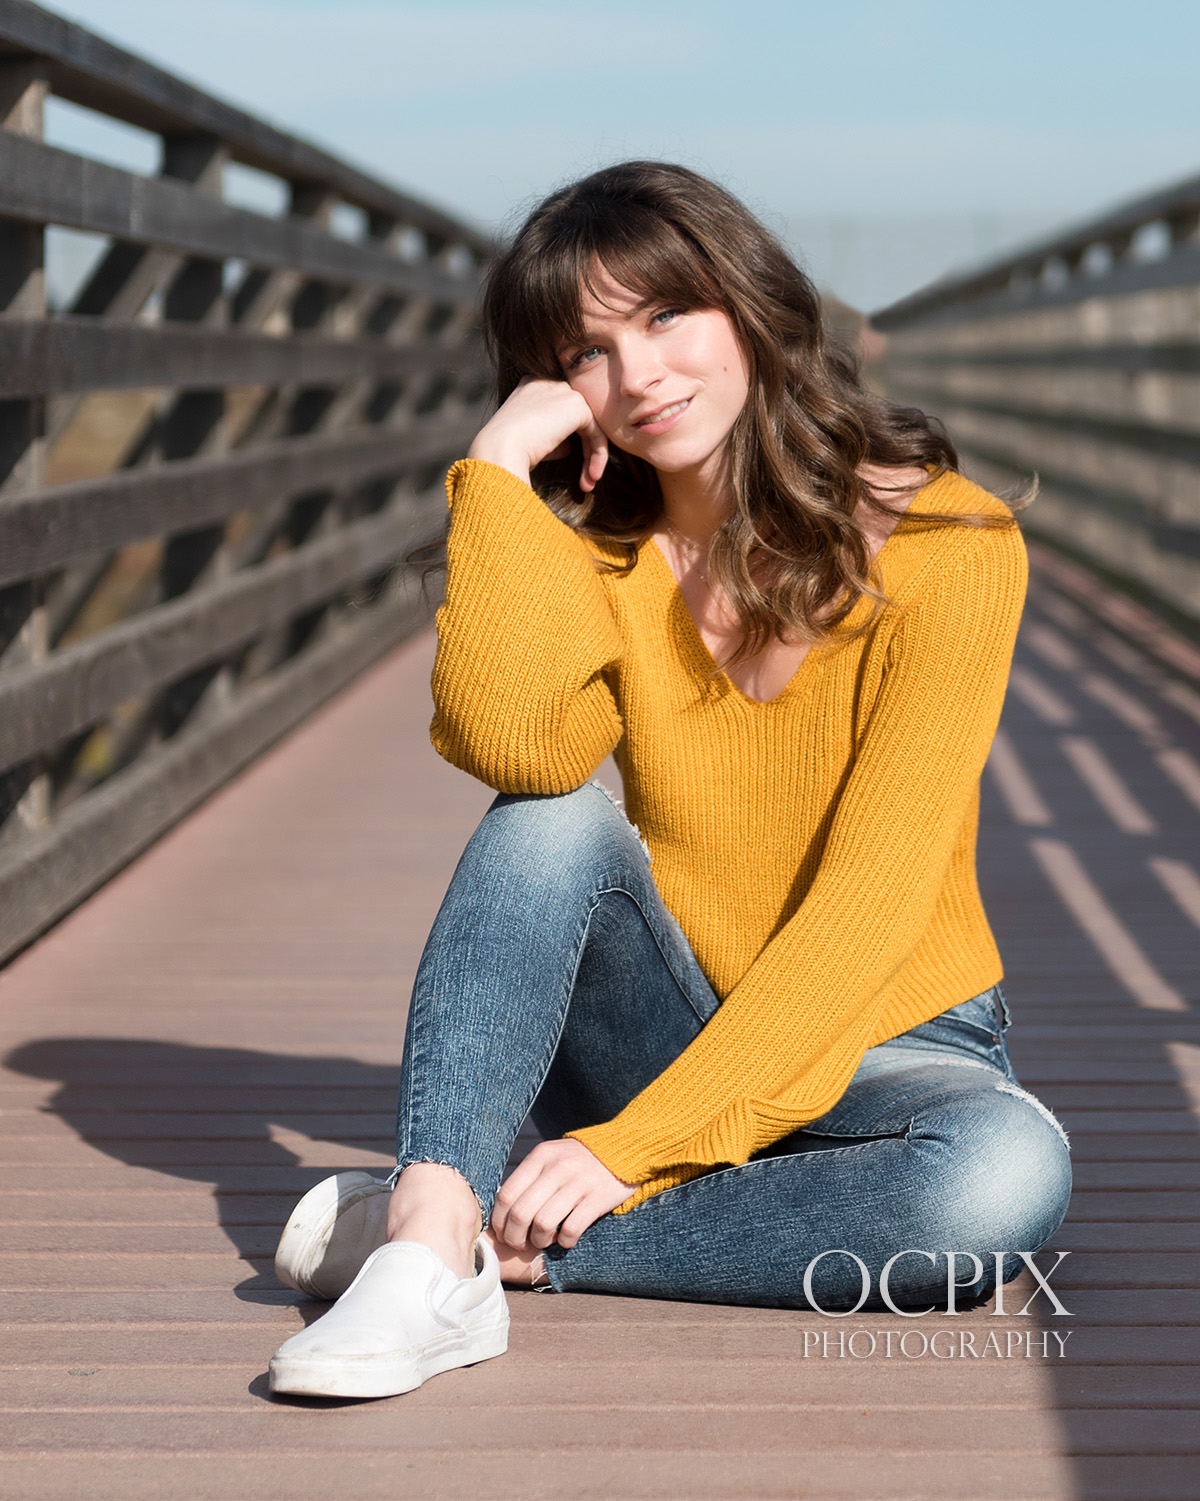
Aperture refers to the size of the opening in the lens that allows light to enter the camera. A larger aperture (represented by a smaller f-number, such as f/2.8) will allow more light to enter and create a shallow depth of field. However, a smaller aperture (represented by a larger f-number, such as f/16) will allow less light to enter and create a greater depth of field. Aperture is measured in f-stops.
Example of a photo taken with a smaller f-number would be of Emily at the Bolsa Chica Wetlands Bridge. Taken at an aperture setting of 2.8, the maximum setting my Nikon 24-70 f/2.8 can achieve. As you can see below, Emily is sharp and the background is blurred with nice bokeh.
ISO settings
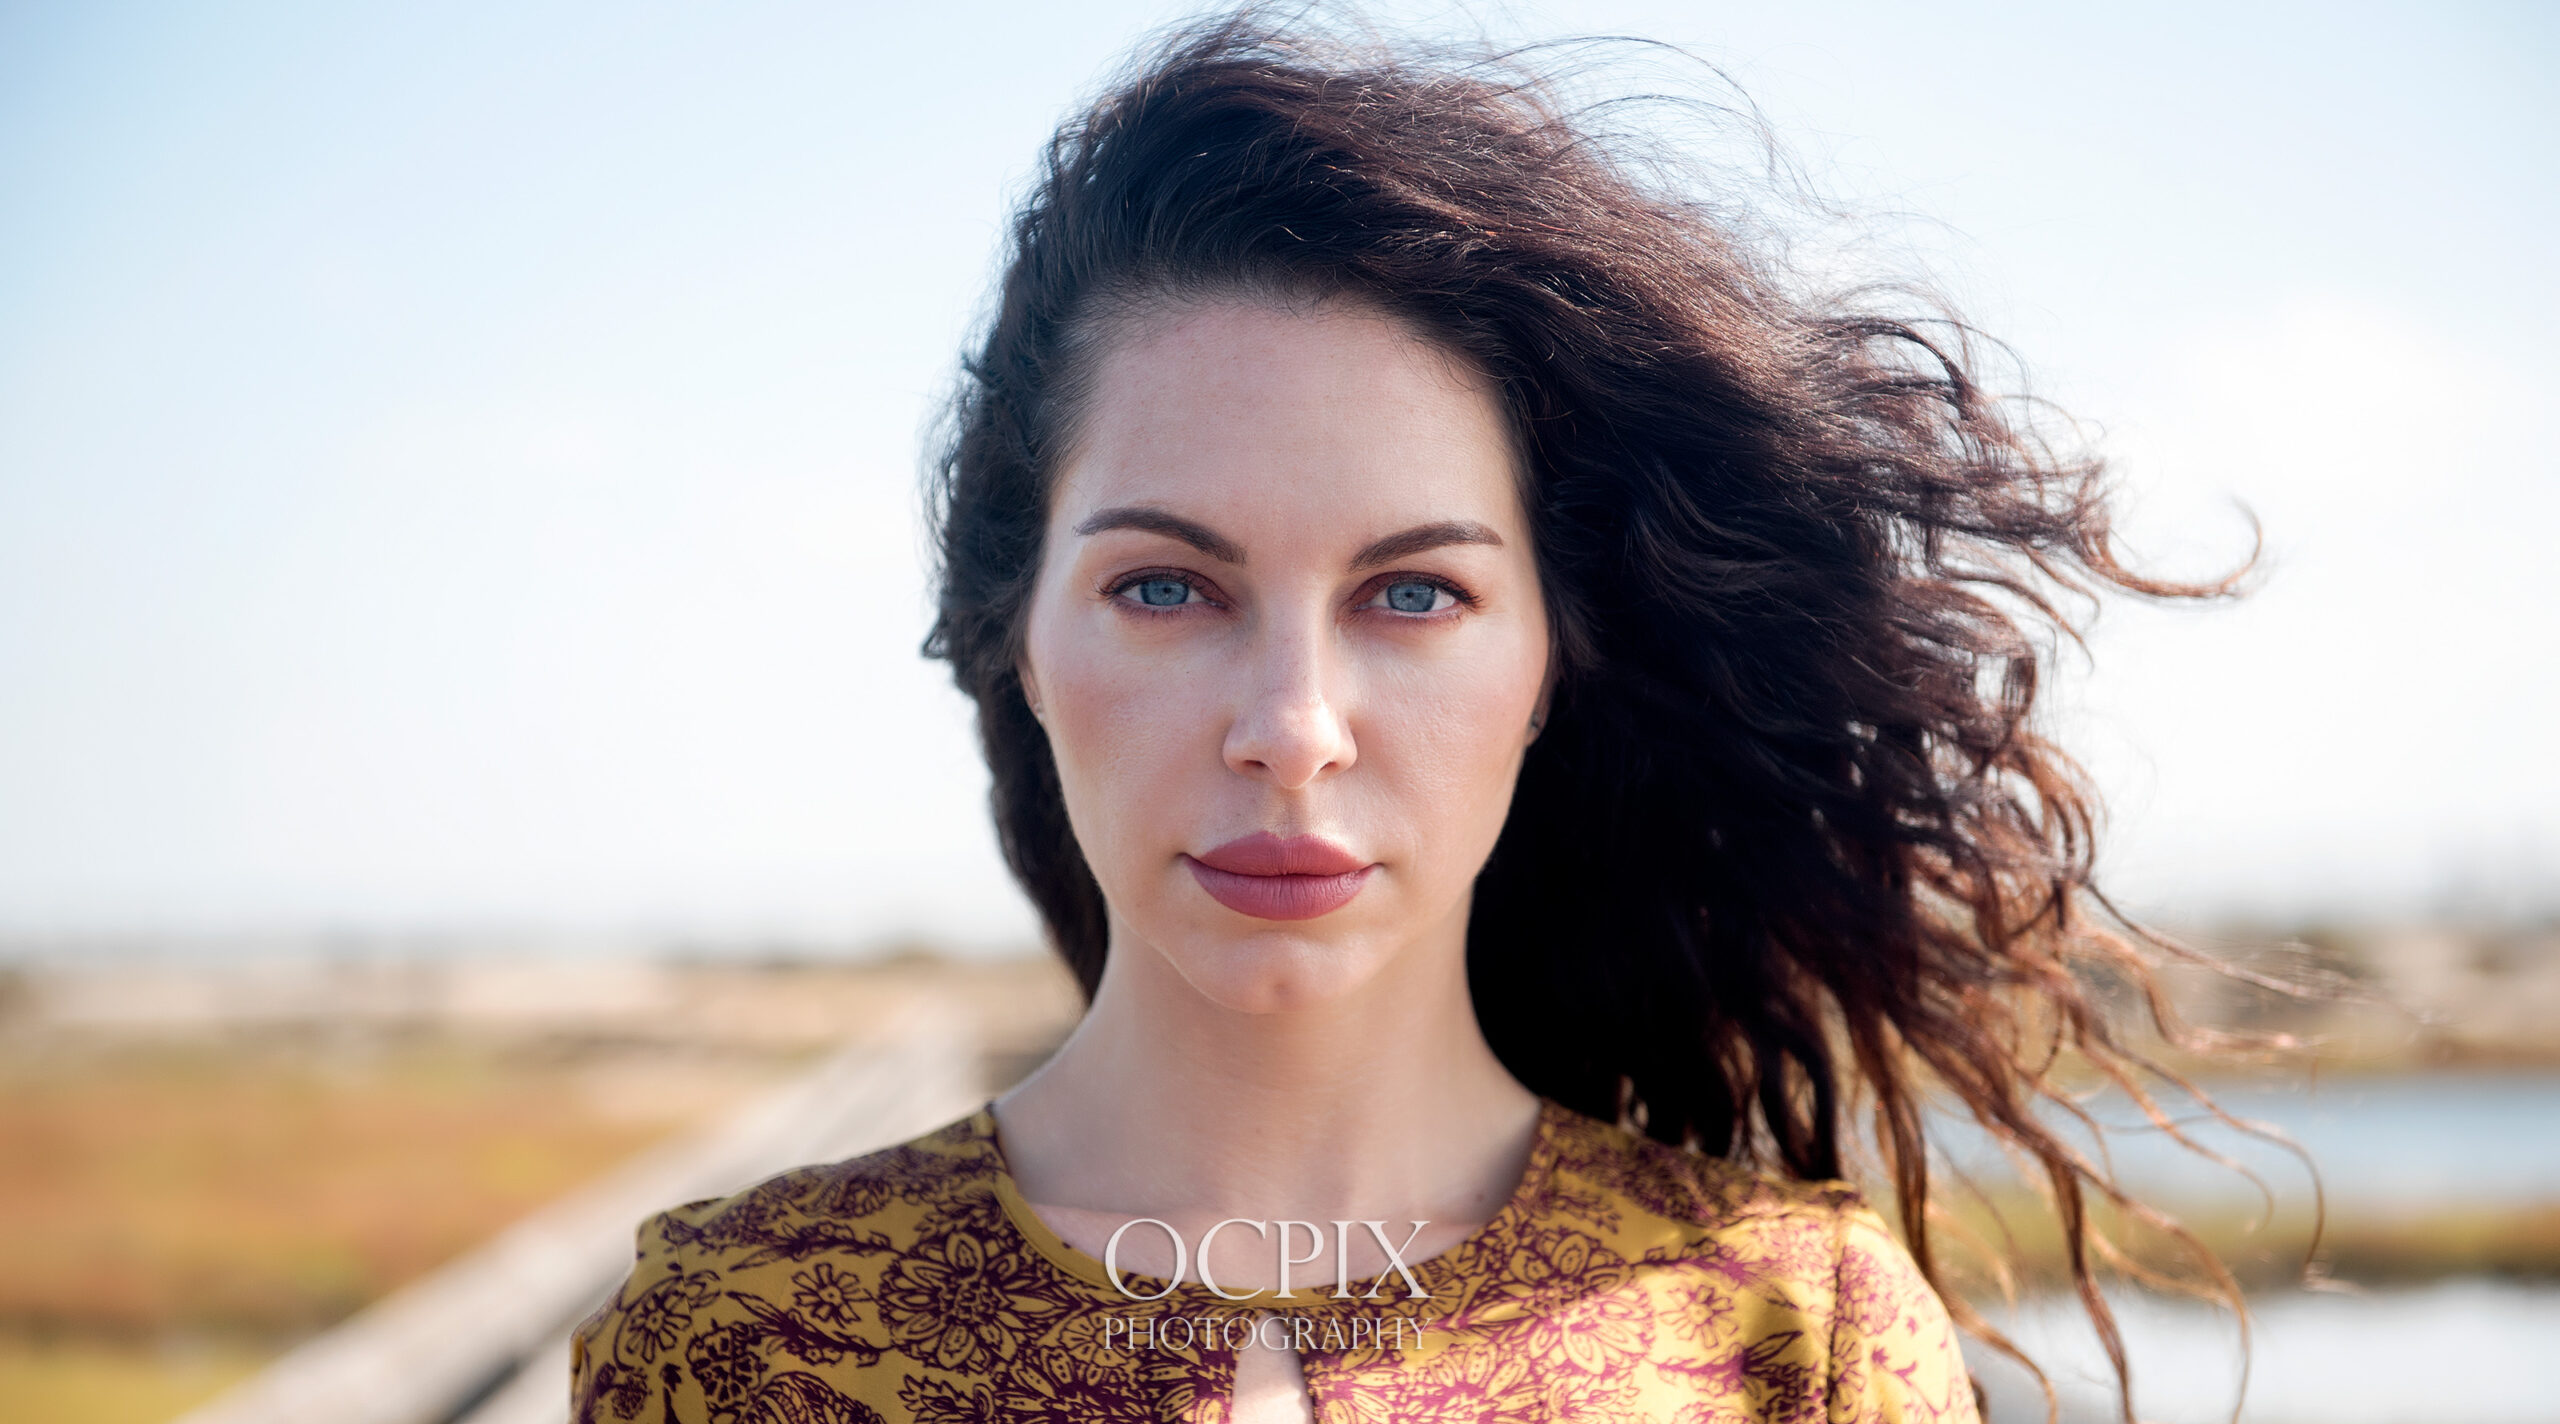
ISO refers to the sensitivity of the camera’s sensor or film to light. A higher ISO (such as 800 or 1600) will allow the camera to capture more light and create brighter images, but can also introduce noise (graininess) and reduce image quality. A lower ISO (such as 100 or 200) will create darker images but with less noise and better image quality. ISO is measured in numbers, such as 100, 200, 400, 800, etc.
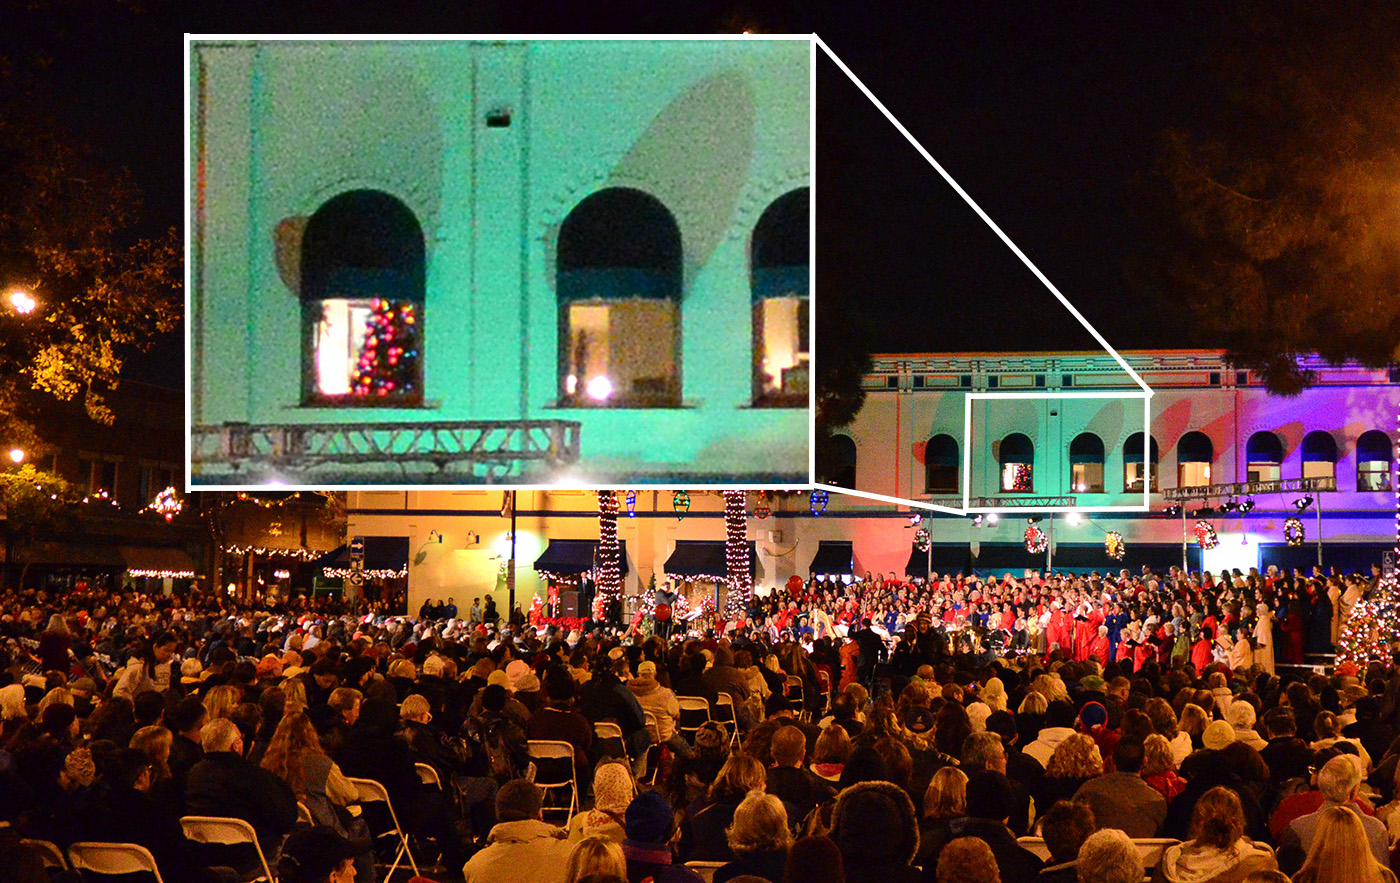
Below is a sample photo I took with ISO 4000. I took this handheld and the only way for it not to be blurry, was to use a high ISO setting. But the drawback is the grain. I’ve enlarged it for you to see.
Then below I’ve added a photo taken at ISO 100. Click to enlarge and see it at 1:1 ratio.
Final thoughts
When adjusting these settings on your camera, it’s important to remember that changing one setting will affect the others. So it’s important to consider how they work together to create the desired exposure. For example, if you want to capture a fast-moving subject and freeze motion, you might choose a faster shutter speed. But you’ll need to compensate by either opening the aperture or increasing the ISO to allow enough light into the camera.
Finally, always know the limits of your camera and lenses. Maximum aperture setting for lenses vary. Also, some camera’s are more tolerant when you use a high ISO than others when it comes to grain. Always test your equipment and experiment so you can find the best options for your type of photography. I hope your questions to shutter speed, aperture and ISO were explained in this article. You can see more of these settings in action at my OCPix Galleries.